
Actually, first this warning: Why You Should Not Download Microsoft’s Windows 10 Preview (and Why You Should)
In
a nutshell: We can’t recommend that you install the Windows 10 preview,
or any other beta operating system, on your primary computer.
Got it? Here’s how to get it running anyway:
Some quick housekeeping
Since
we’ll be installing the Windows 10 Technical Preview, aka a beta build,
there are bound to be bugs and glitches. So you’ll want to make sure
that you back up your personal files in a separate location, unless
you’re installing the operating system on a play machine anyway, in
which case, go wild.
If
you’re installing on a computer that you’re currently using and that
has Windows 8 on it, you’ll want to make sure that you have a recovery drive
for your PC. A recovery drive is basically a copy of your computer’s
most important files, so that if something goes haywire during the
Windows 10 installation, you can bring your computer back to its
original state.
Creating a recovery drive
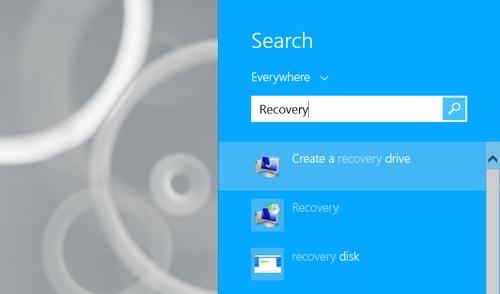
To
make a recovery disk in Windows 8.1, type “recovery” into the Search
box in the Charms menu and click “Create a recovery drive.”
Follow the onscreen instructions, plug your USB drive into your PC’s USB slot, and save the recovery drive to the thumb drive.
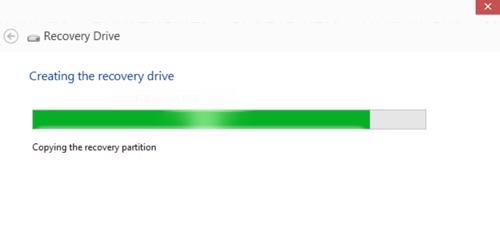
Continue following the onscreen prompts, and your computer’s recovery drive will be saved to the thumb drive.
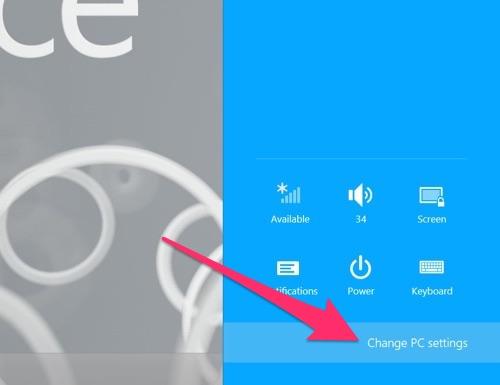
Updating your PC
Next, open the Charms menu and click the Change PC Settings button at the bottom of the screen.
Click Update and Recovery, then Windows Update.
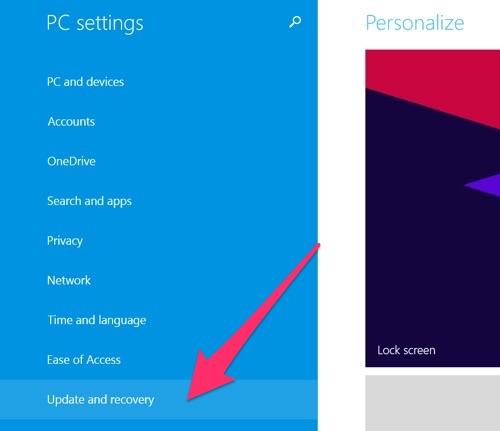
Click Check Now, and Windows will automatically begin looking for any available updates.
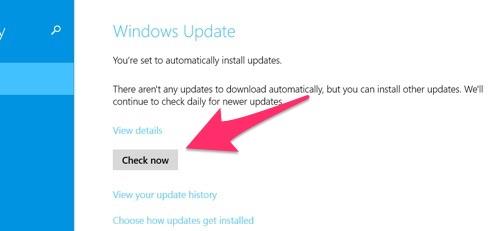
Download and install them as usual.
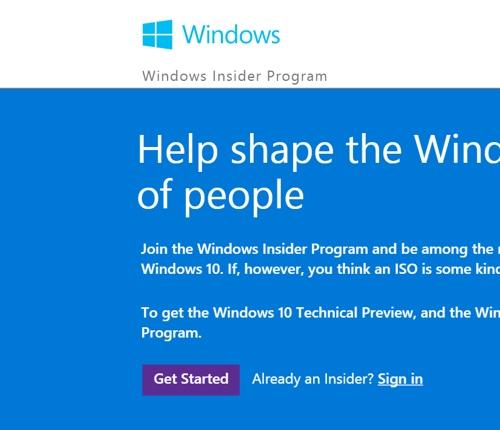
Becoming a Windows Insider
Here
comes the big step: authorizing your computer to run the preview of
Windows 10 and then getting to see Windows 10 in action.
Before you can download Windows 10, you’ll have to create a Microsoft account and sign up to be a Windows Insider.
You can create a Microsoft account by visiting Windows.Microsoft.com.
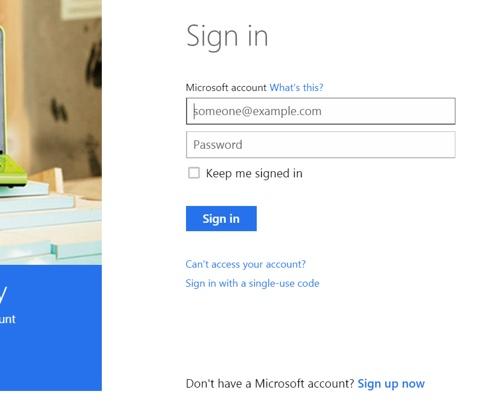
If
you’ve got a Microsoft account (anything ranging from your Windows PC
account to your Xbox Live log-in), you can head over to Microsoft’s
Windows Insider page and sign up to be an Insider.
Downloading Windows 10
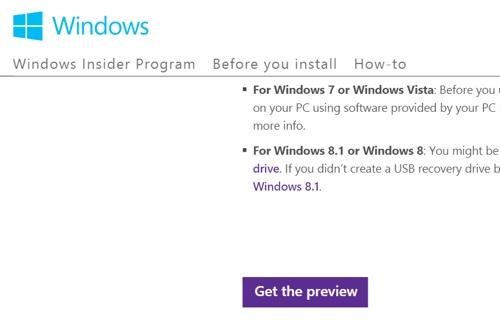
Once
you’ve signed up as an Insider, go back to the Windows Insider homepage
and click Continue at the bottom of the screen, then Get the Preview at
the bottom of the following page.
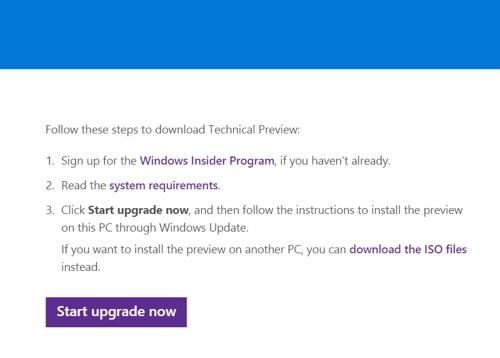
If you’re installing Windows 10 on the computer you’re currently working on, click Start Upgrade Now.
If
you want to save the file to a separate thumb drive to install it on a
different computer, click Download the ISO Files instead.
An ISO file is a special file that contains all the information you need to install Windows 10.
Dealing
with ISO files isn’t too difficult, but it does require a few
additional steps. For more information on installing Windows 10 with an
ISO file, check Microsoft’s Windows 10 installation page.
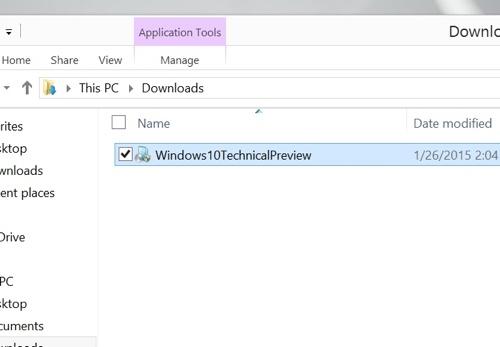
If
you’re downloading the upgrade on the machine you’re going to be
running Windows 10 on, just wait for the file to finish downloading.
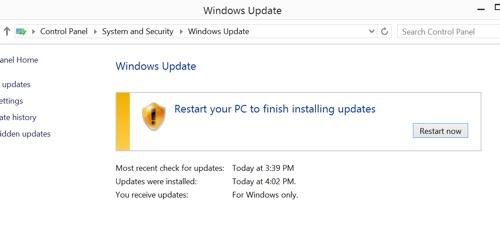
Installing Windows 10
Once the download wraps up, click the file to open it, and the Windows Update screen will pop up and begin checking for updates.
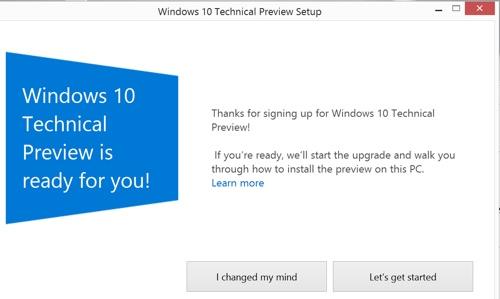
A new Windows Update window will then open with a prompt that reads “Upgrade to Windows 10 Technical Preview.”
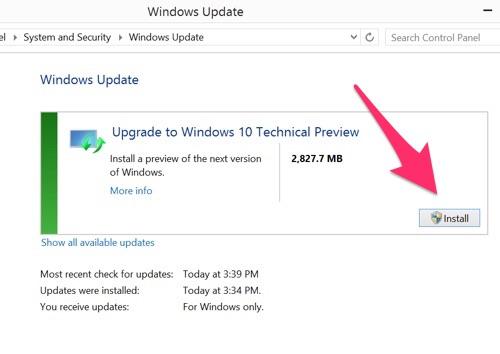
Click Install and then click Let’s Get Started on the next page, and the software will begin loading onto your computer.
Once
everything is finished, your computer will restart and you’ll be
greeted by the latest Windows 10 Technical Preview. The entire
installation process takes about 15 minutes, depending on how fast your
computer and Internet connection are. Your personal files and existing
programs shouldn’t be affected when you update to Windows 10, but it’s
best to back up everything anyway.
Now
have fun exploring all the goodies included with Windows 10. And if you
want to roll back your computer to Windows 8, just restart your PC and
you’ll be met with the option to either start with Windows 10 or roll
back to Windows 8.
No comments:
Post a Comment